

The effective preventive Asphalt Crack Sealing method for minimizing reflective cracking in fresh asphalt wearing courses, protecting road investments, and maximizing municipal maintenance budgets.
Discussions among highway engineers, consultants, and municipal stakeholders consistently highlight the most effective sequential protocol after asphalt milling:
- Crack Sealing: Rout & Seal utilizing standard reservoir geometry with flush fill.
- Geocomposite Membrane Application: High-tensile paving grid installed directly over sealed joints.
- Wearing Course Overlay: Application of the new hot-mix asphalt (HMA) wearing course.
In certain project scenarios, geocomposite installation may be omitted due to site constraints, design variations, or budget restrictions. However, whenever pavement cracking is detected that does not stem from deeper structural road base failure, crack sealing prior to resurfacing is essential.
Underlying movement and thermal strain will always cause untreated fractures to propagate upward. Sealing the crack reservoir eliminates moisture infiltration and arrests reflective stress propagation:
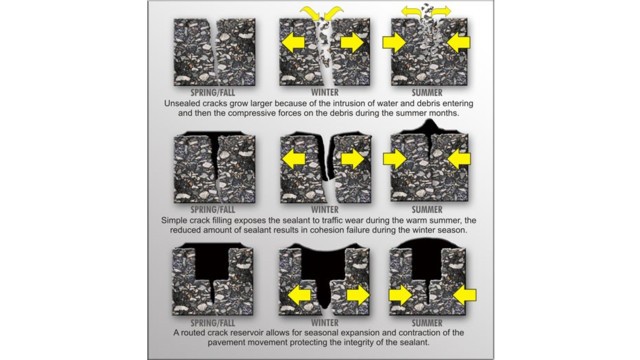
Best Practice Crack Sealing Protocol
Here is a detailed breakdown of the step-by-step engineering best practices for asphalt crack sealing:
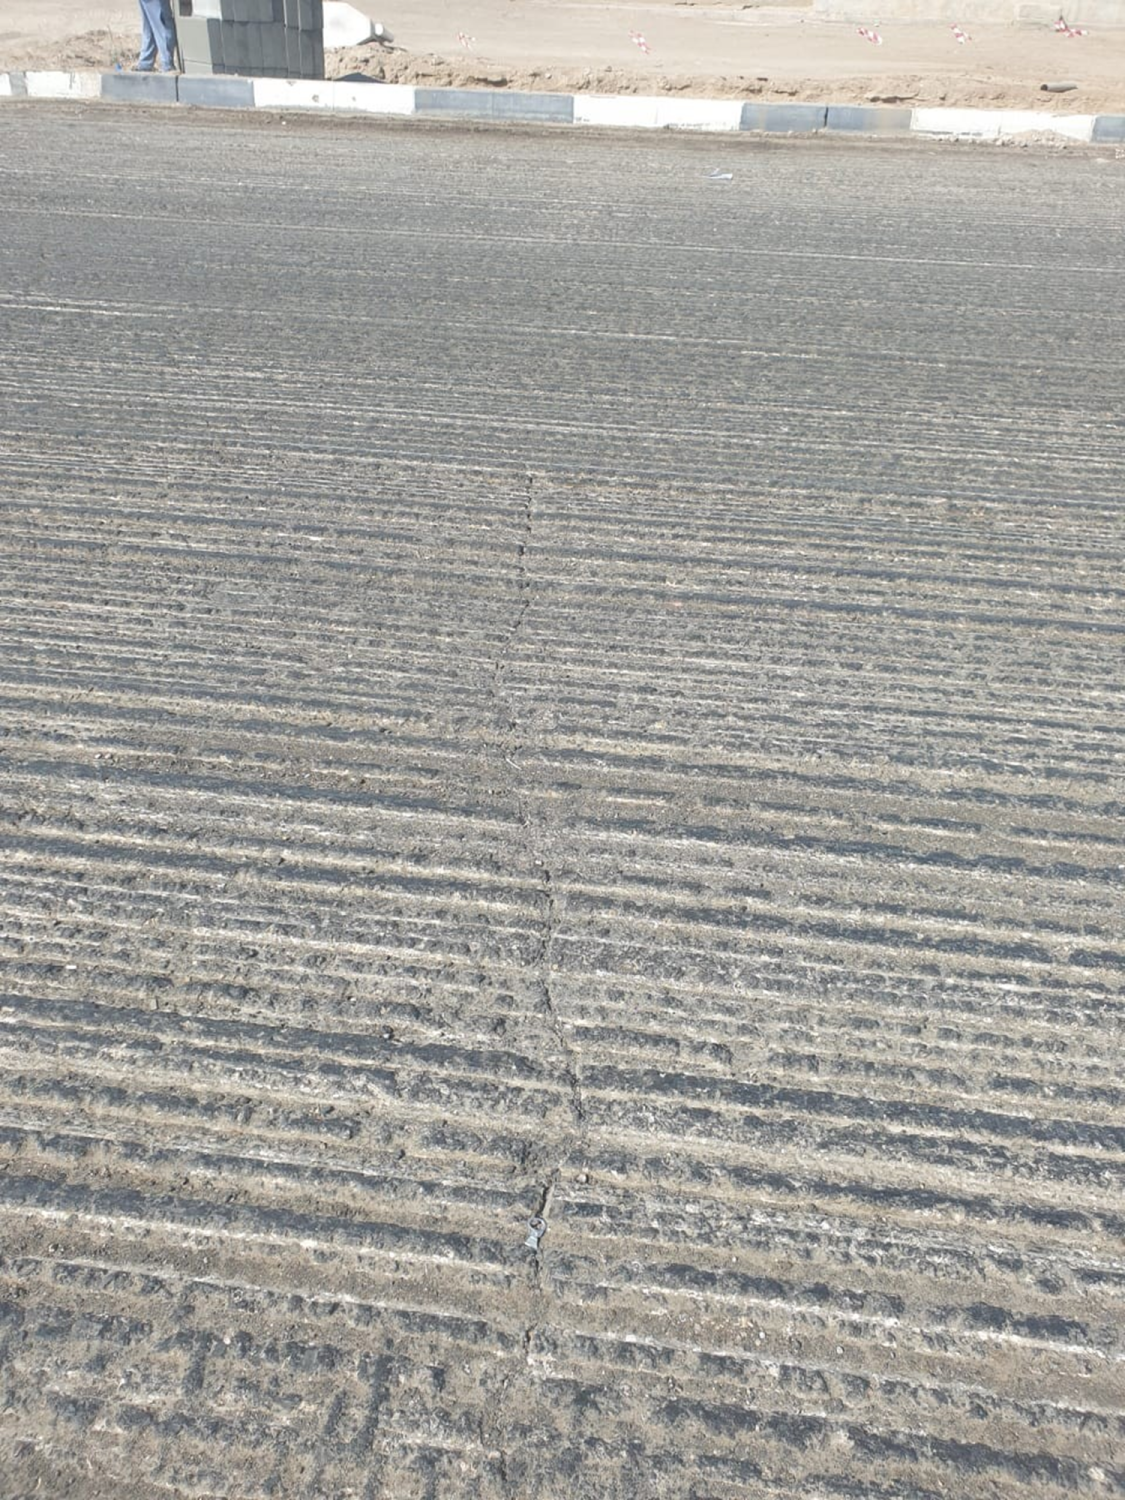
Once cracking is surveyed and confirmed not to be alligator/structural base failure, treatable fractures are identified:
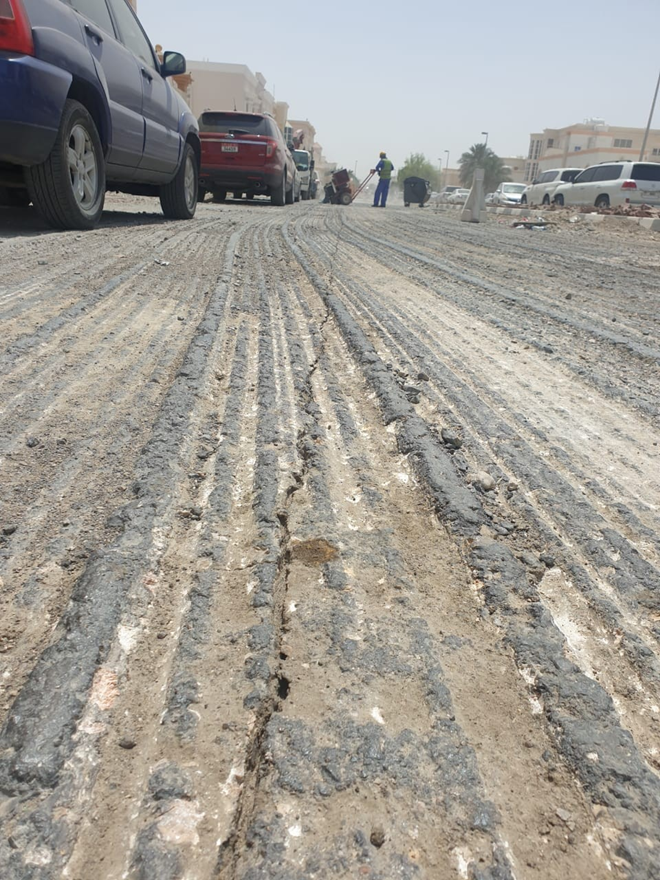
Precision routing must be performed using a specialized pavement router capable of following curved cracks in tough, oxidized asphalt to an engineered nominal width of 20 mm:
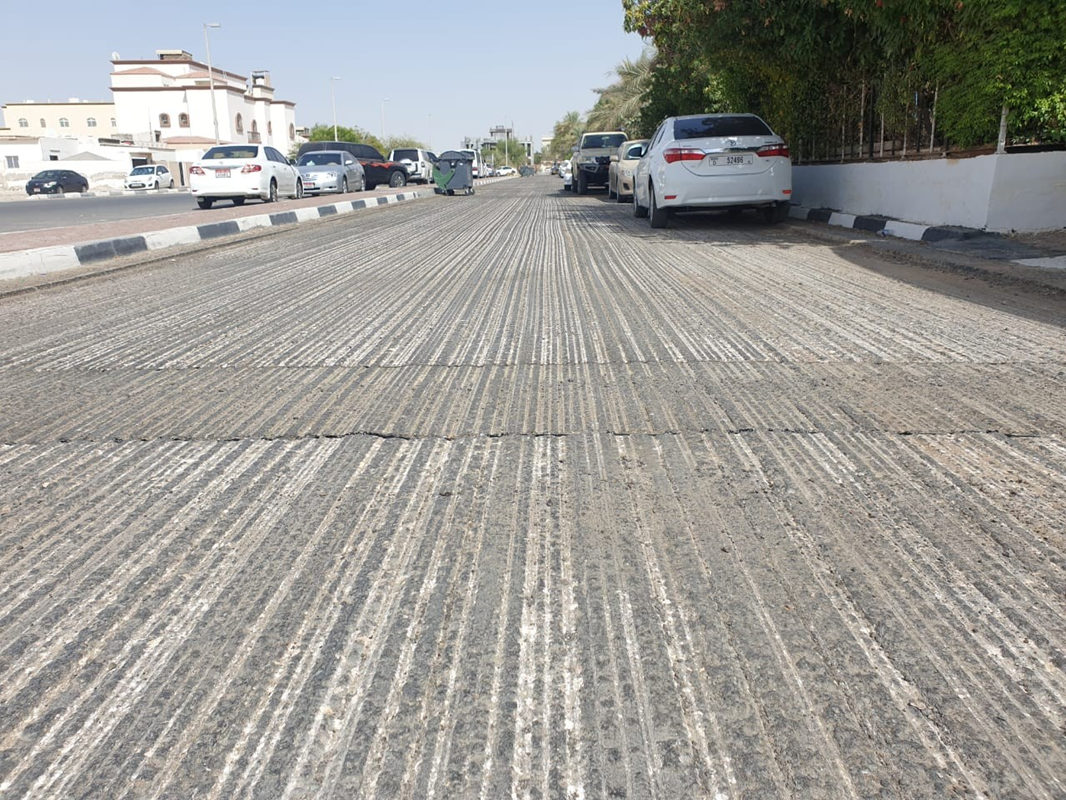
Wider cracks are more susceptible to sealant pumping in hot desert climates. Routing produces uniform, clean reservoir sidewalls for optimal sealant adhesion:
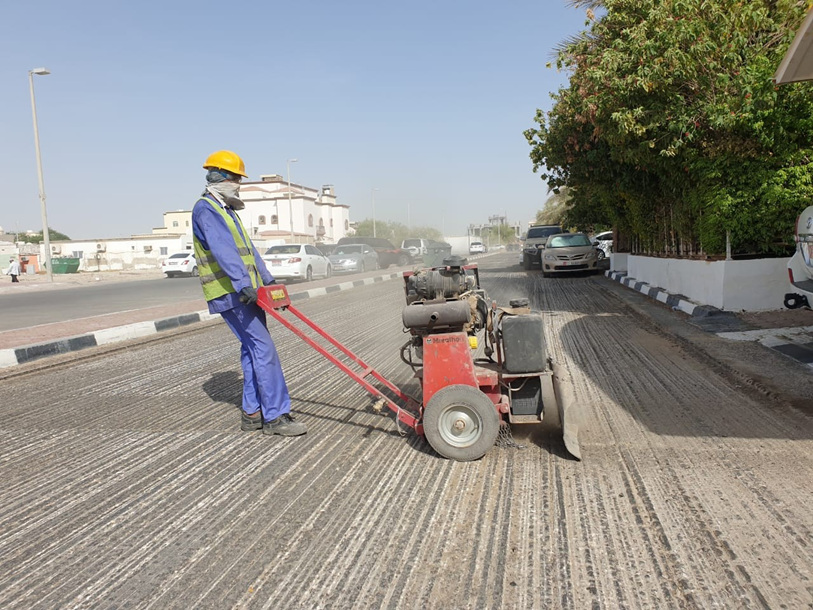
Routing removes weak, fractured shoulder edges. Typical reservoir dimensions range between 10 to 20 mm in depth:
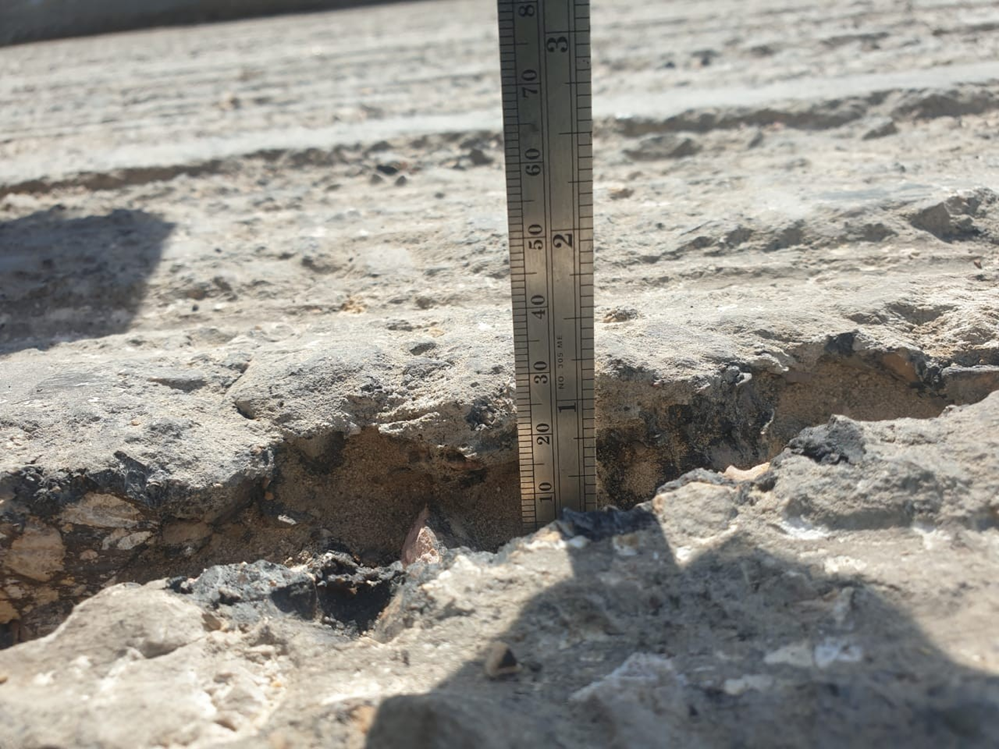
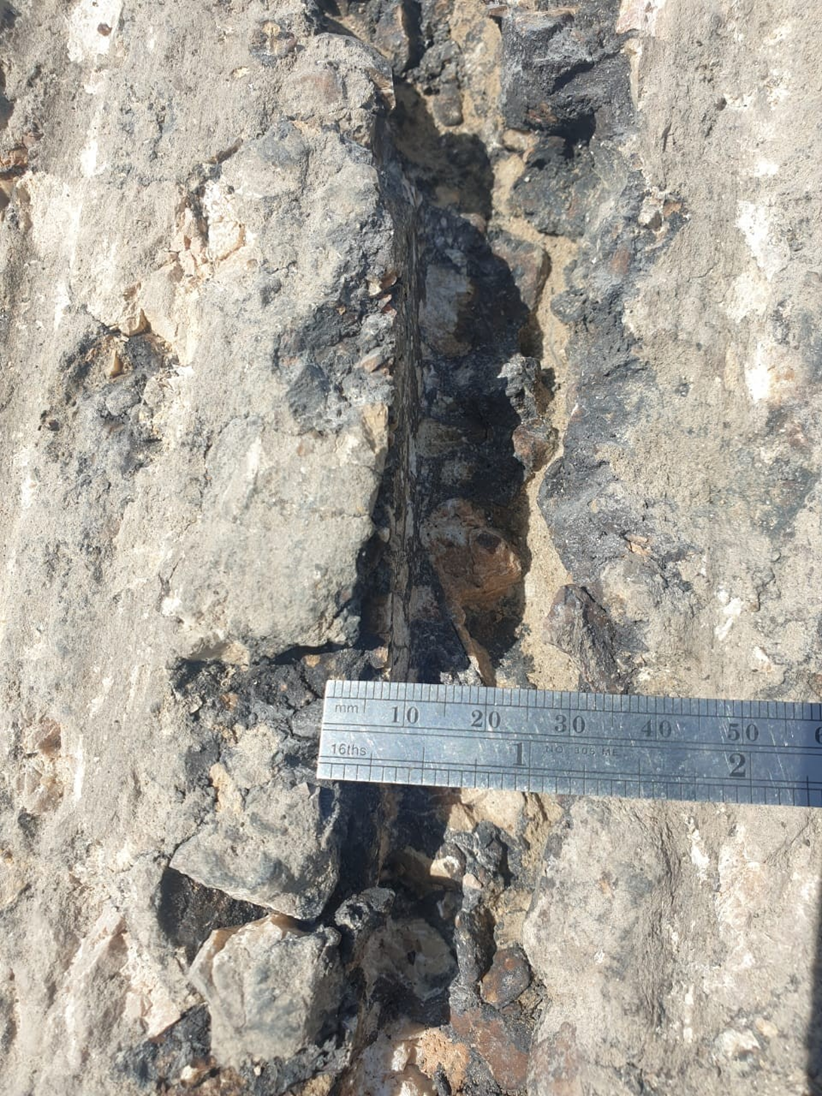
Under optimal site conditions, a high-production router outputs approximately 100 linear meters (LM) per hour:
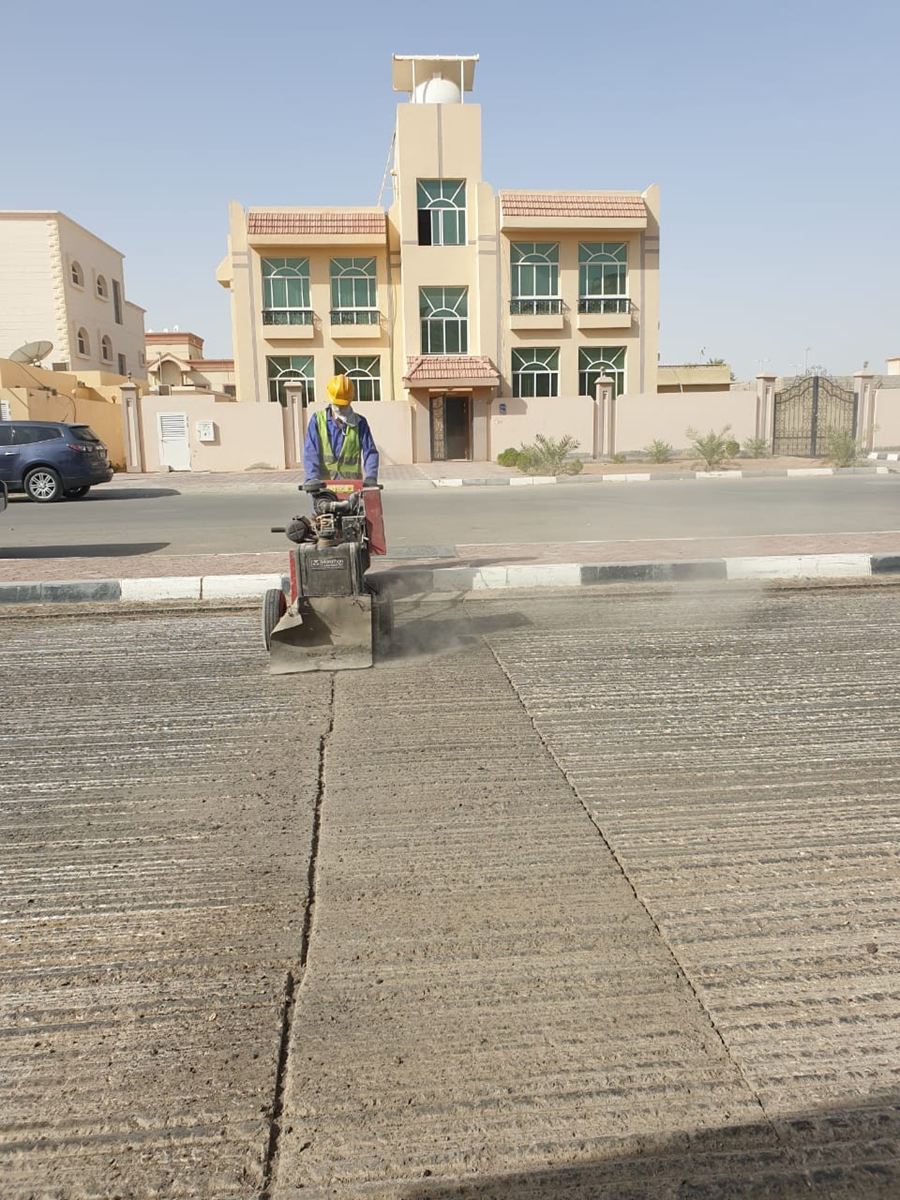
Surface & Reservoir Cleaning
Cleaning is the most critical phase. The reservoir must be completely cleared of micro-dust, moisture, and debris using oil-free high-pressure compressed air or hot air lancing:
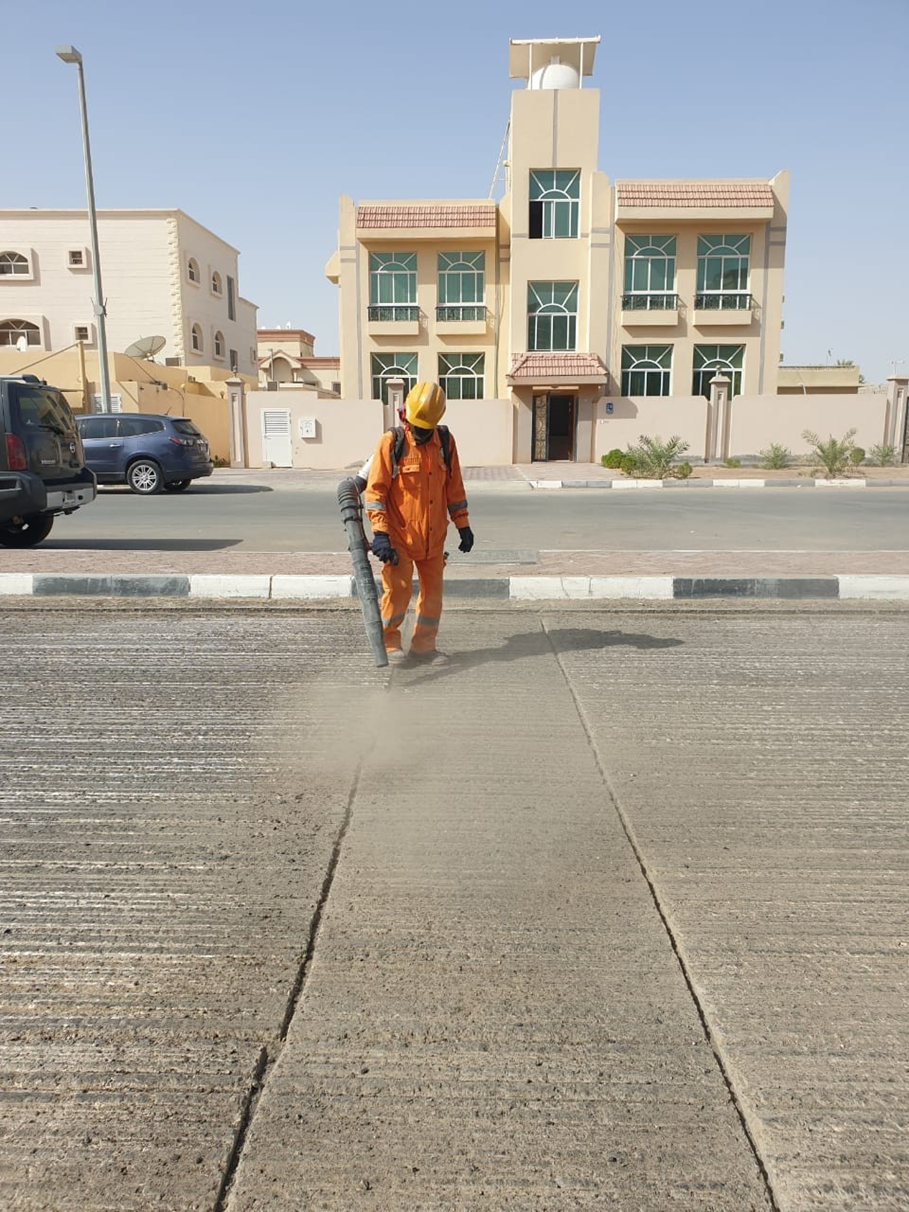
Sealant Injection & Temperature Control
Rubberized hot-applied sealant is injected into the reservoir, leaving a 3 to 5 mm recess below the milled pavement surface:
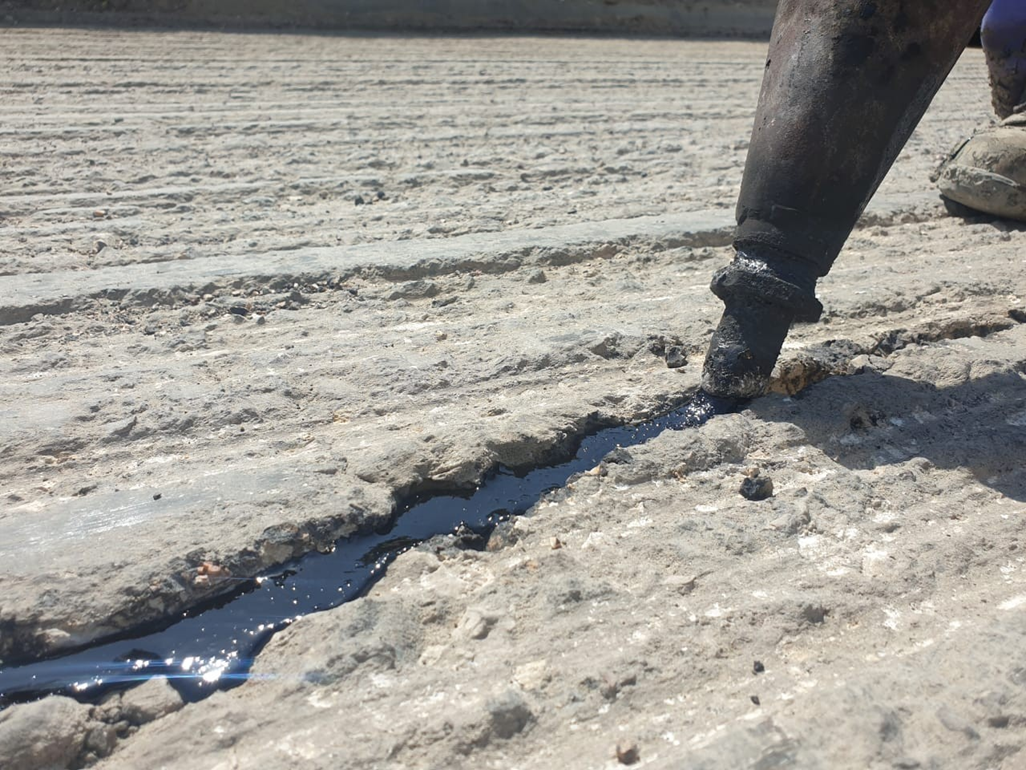
Never overfill the reservoir. Maintaining the 3–5 mm recess prevents wheel pick-up and ensures flawless tack coat and new asphalt overlay bonding:
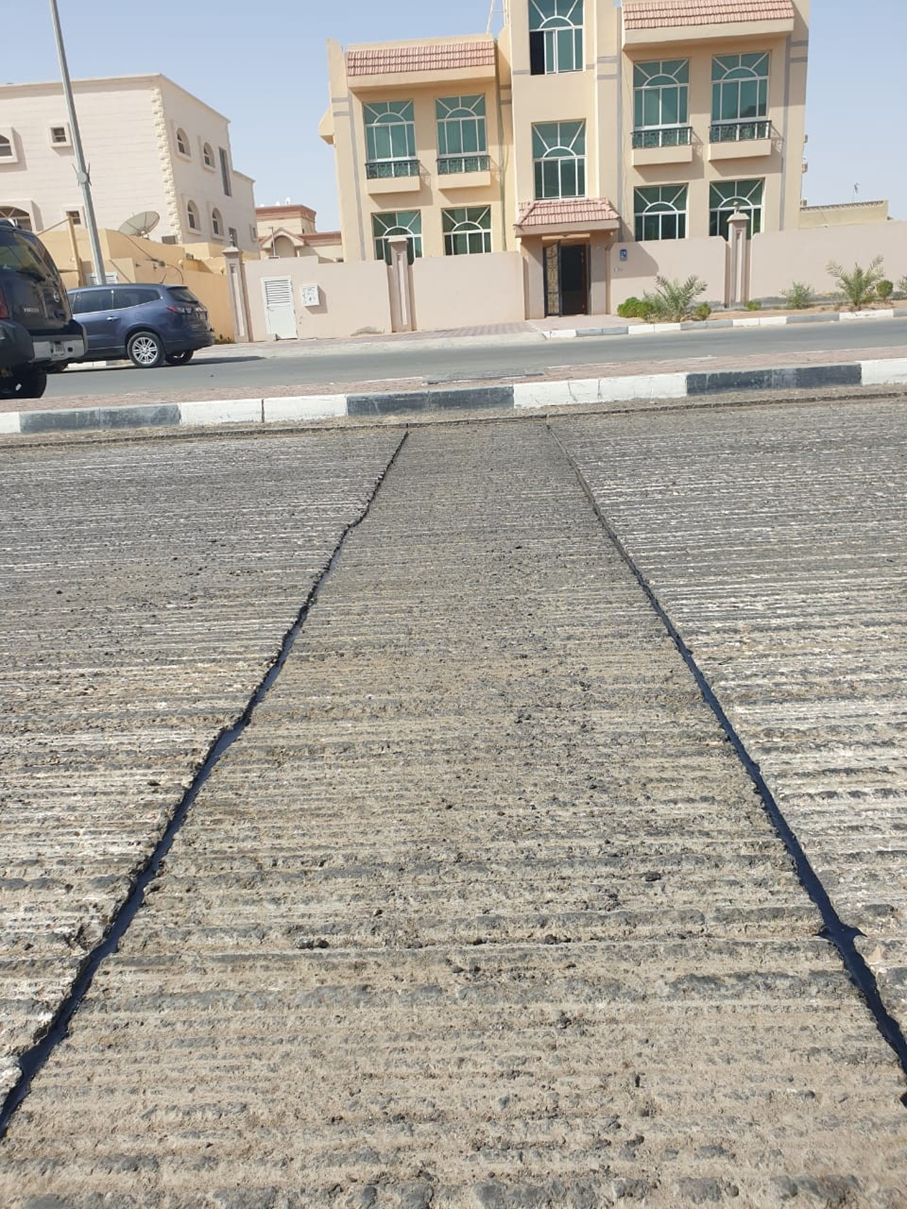
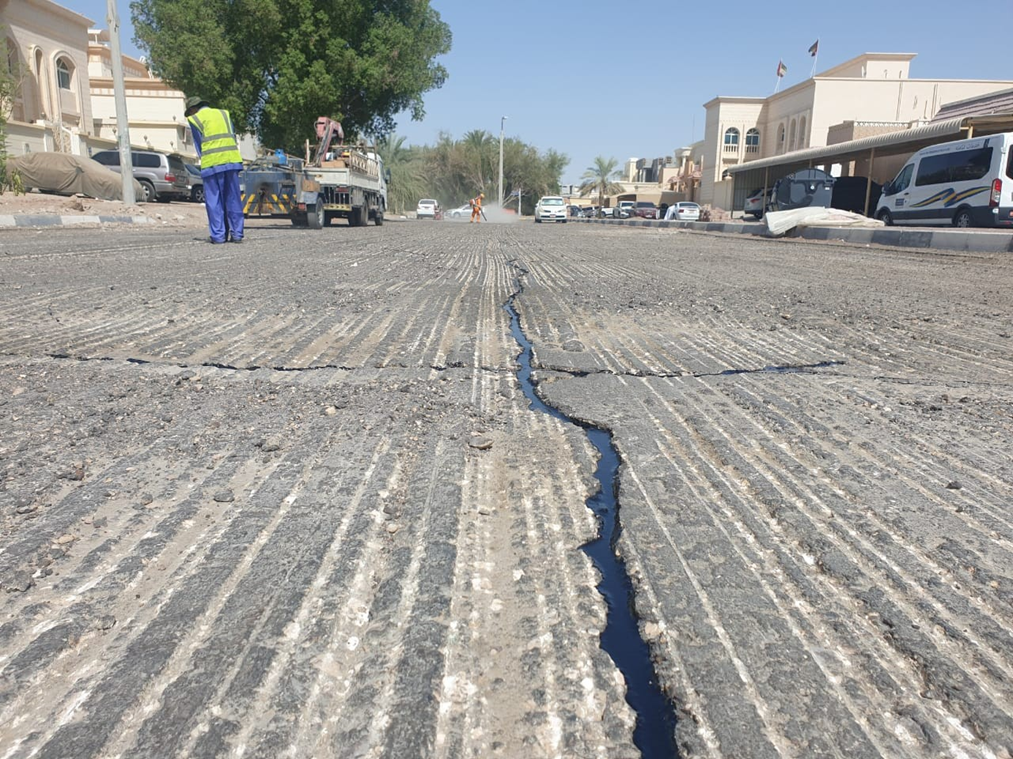
Key Application Temperatures:
- Sealant Application: approx. 180°C (356°F)
- Tack Coat Emulsion: approx. 60°C (140°F)
- New Asphalt Overlay: approx. 140°C (284°F)
Whenever project timelines permit, allowing 1 to 4 weeks between crack sealing and paving ensures comprehensive elastomeric bonding:
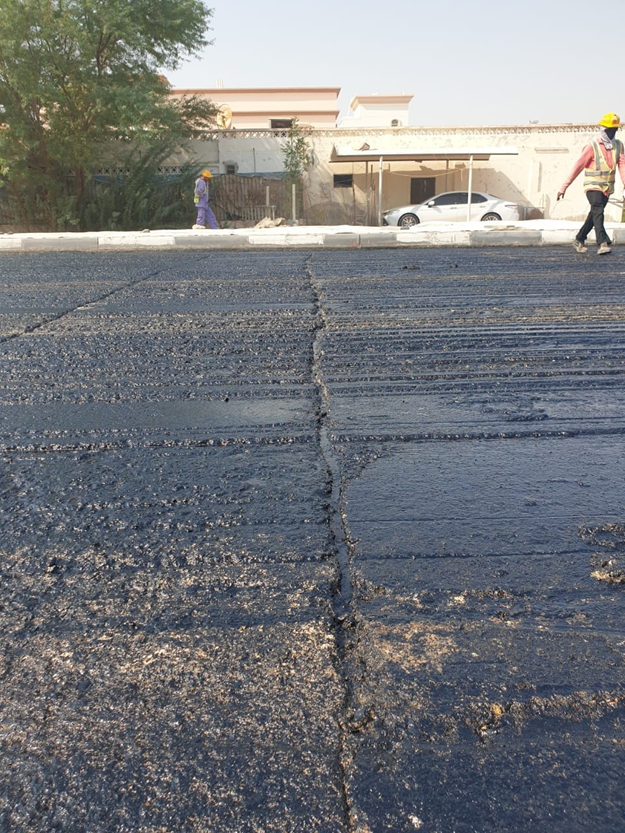
Pavement Cracks Suitable for Treatment:
- Lateral & Longitudinal Joints: Construction joint and centerline separations.
- Transverse Cracks: Fractures perpendicular to roadway centerline caused by shrinkage or reflective sub-base motion (non-load-bearing).
- Thermal Cracking: Extreme temperature-induced contraction splits.
- Block Cracking: Interconnected rectangular fissures (4 mm to 30 mm wide).
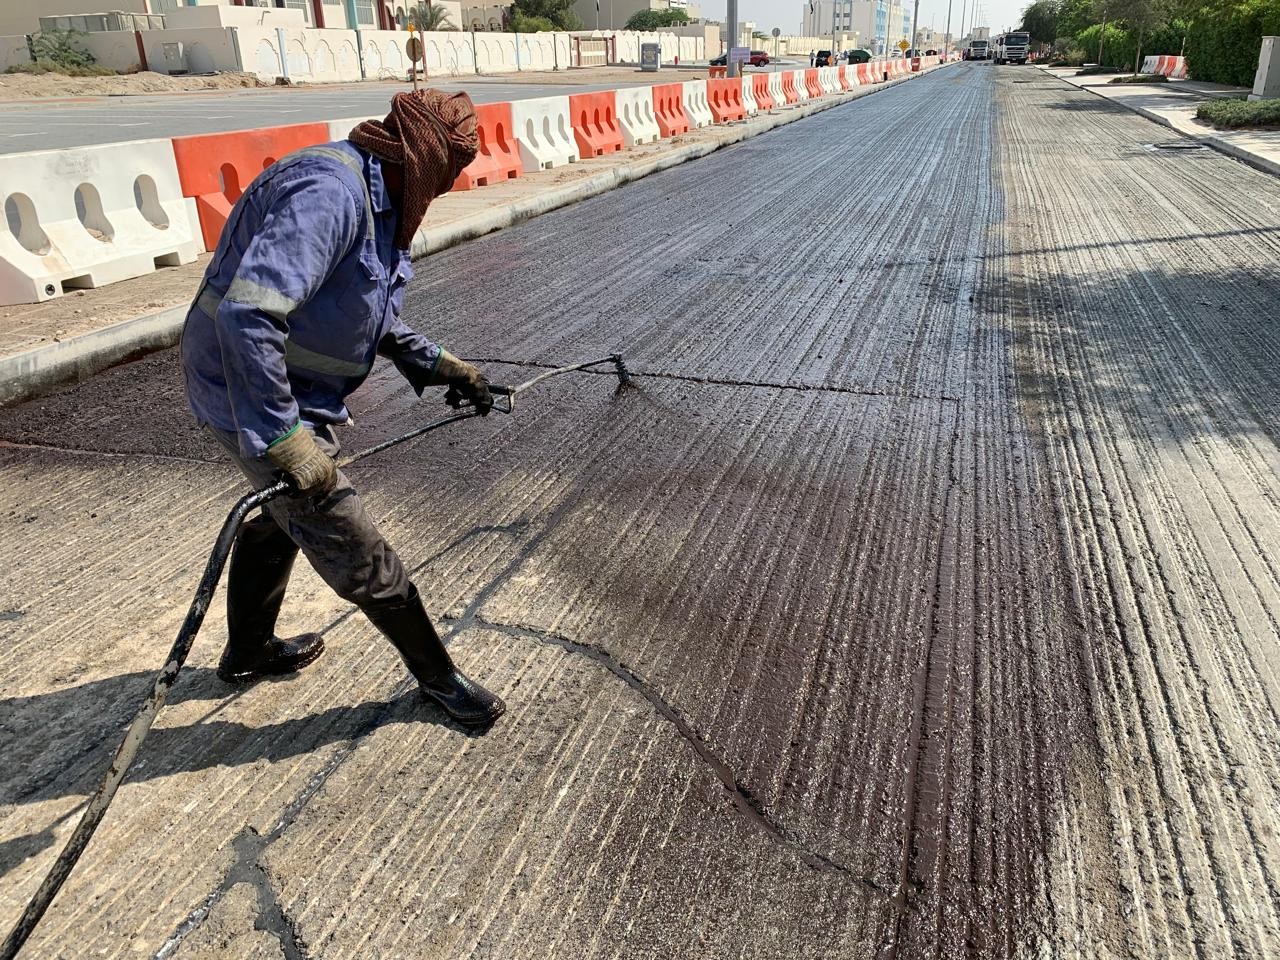
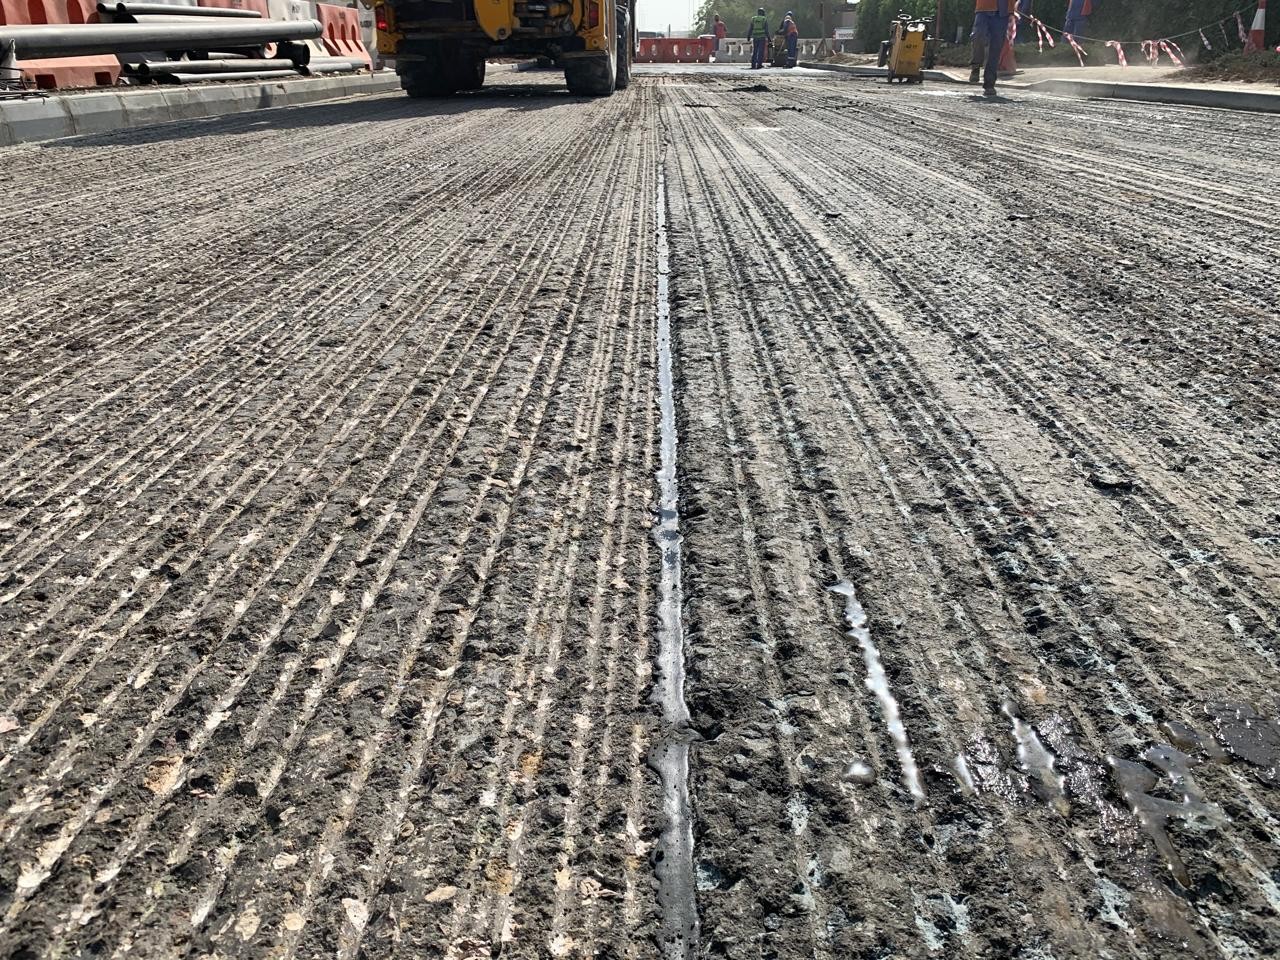
High-specification polymer sealants set within 15 to 30 minutes, providing a resilient, elastomeric barrier that resists cold-weather brittleness and hot-weather surface tracking:
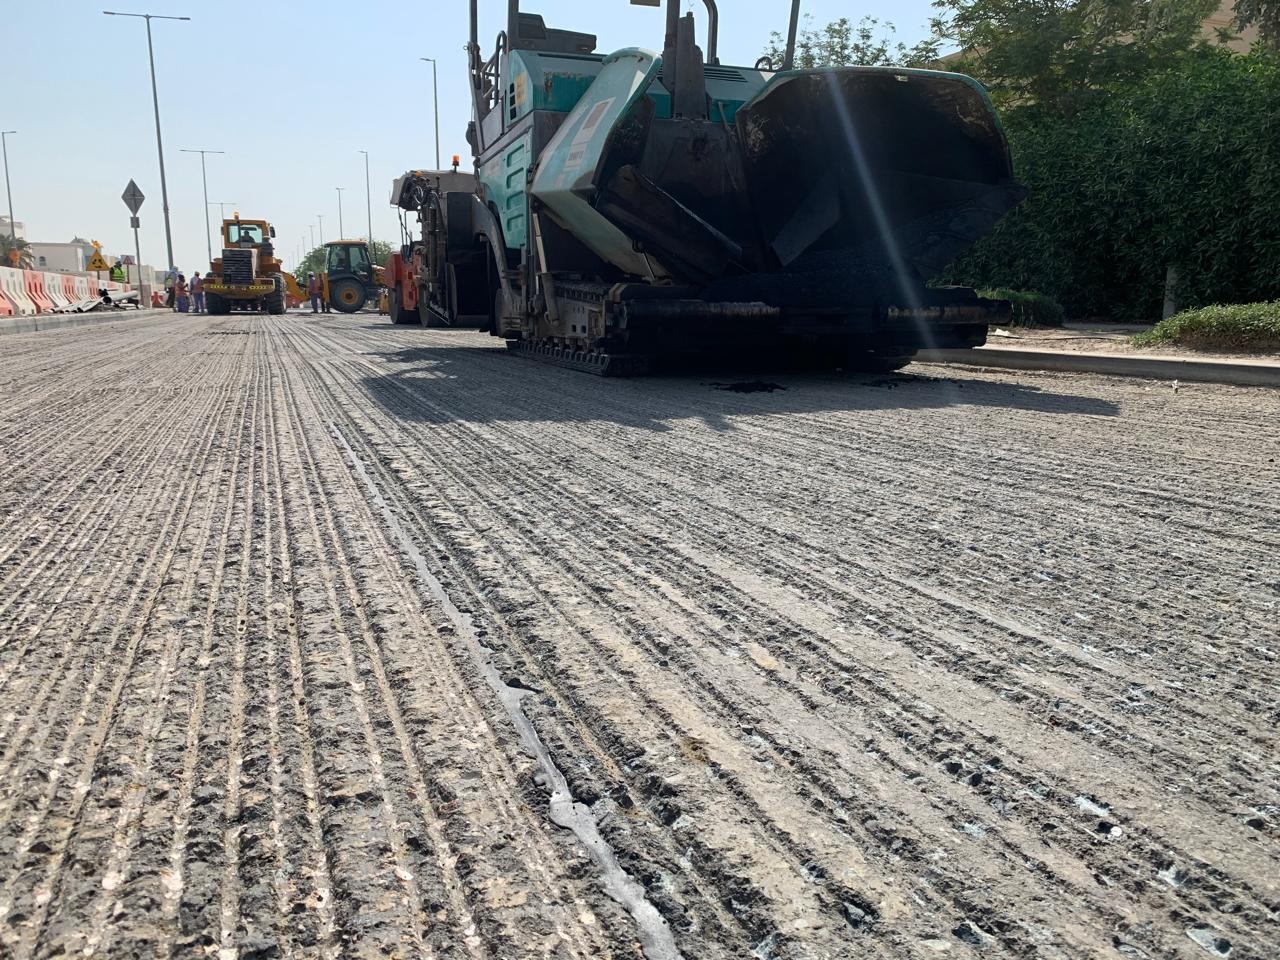
Geocomposite & Paving Grid Installation
The geocomposite interlayer is cut to center over the sealed joint, extending 37.5 cm on each side (total width of 75 cm):
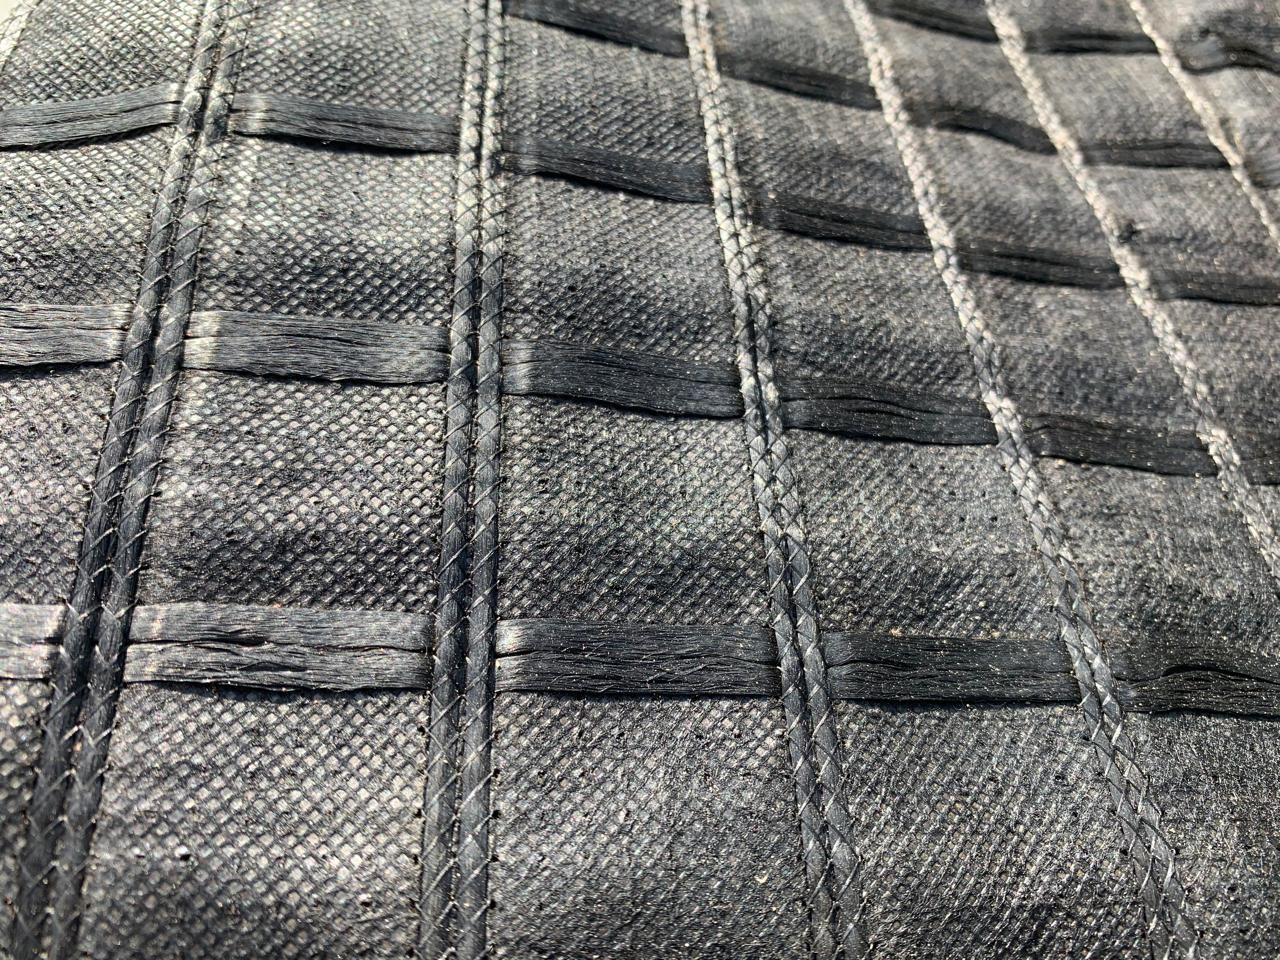
The interlayer can also be mechanically pinned or nailed into the milled asphalt substrate to prevent displacement during asphalt paving operations:
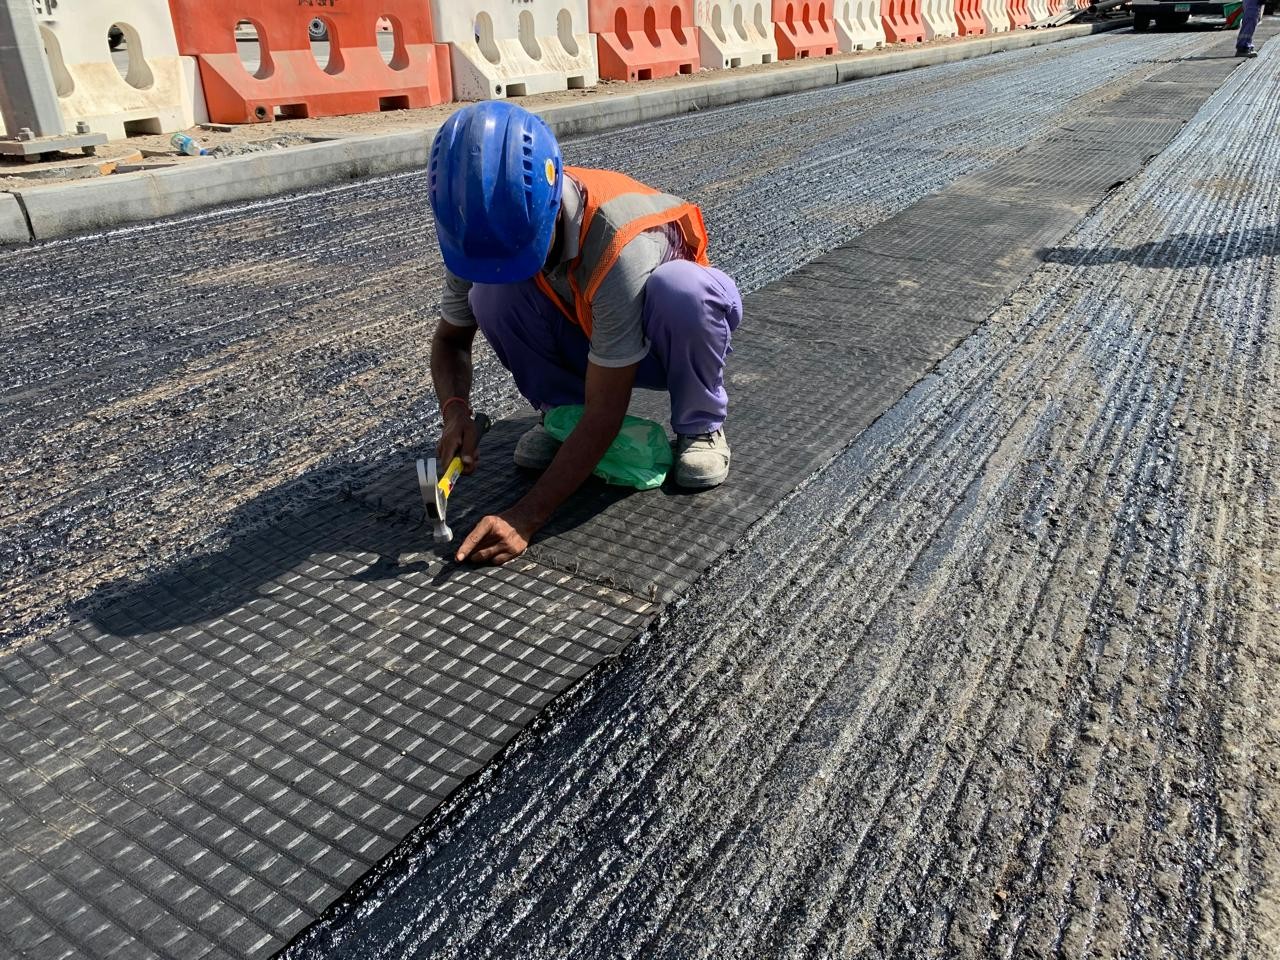
Grid dimensions and coverage are adapted to site conditions, expanding width and length wherever localized distress or fatigue patterns demand additional reinforcement:
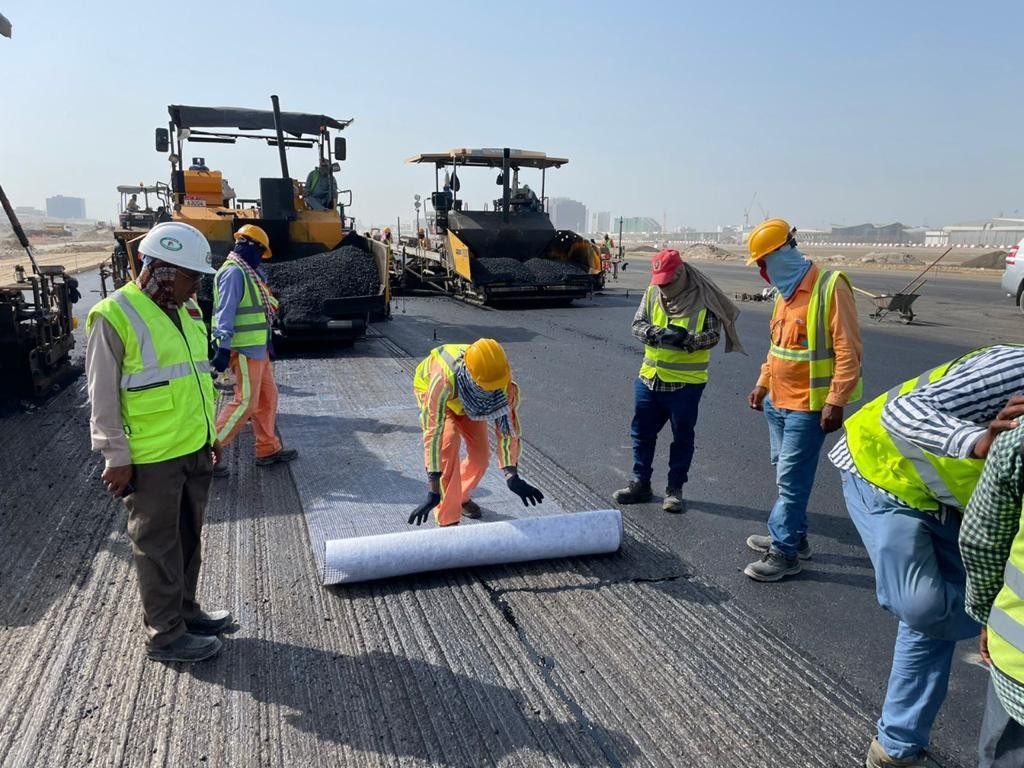
The geocomposite shields the underlying sealant from the extreme temperatures of the fresh asphalt overlay, allowing the elastomeric seal to remain intact and permanently halt reflective cracking:
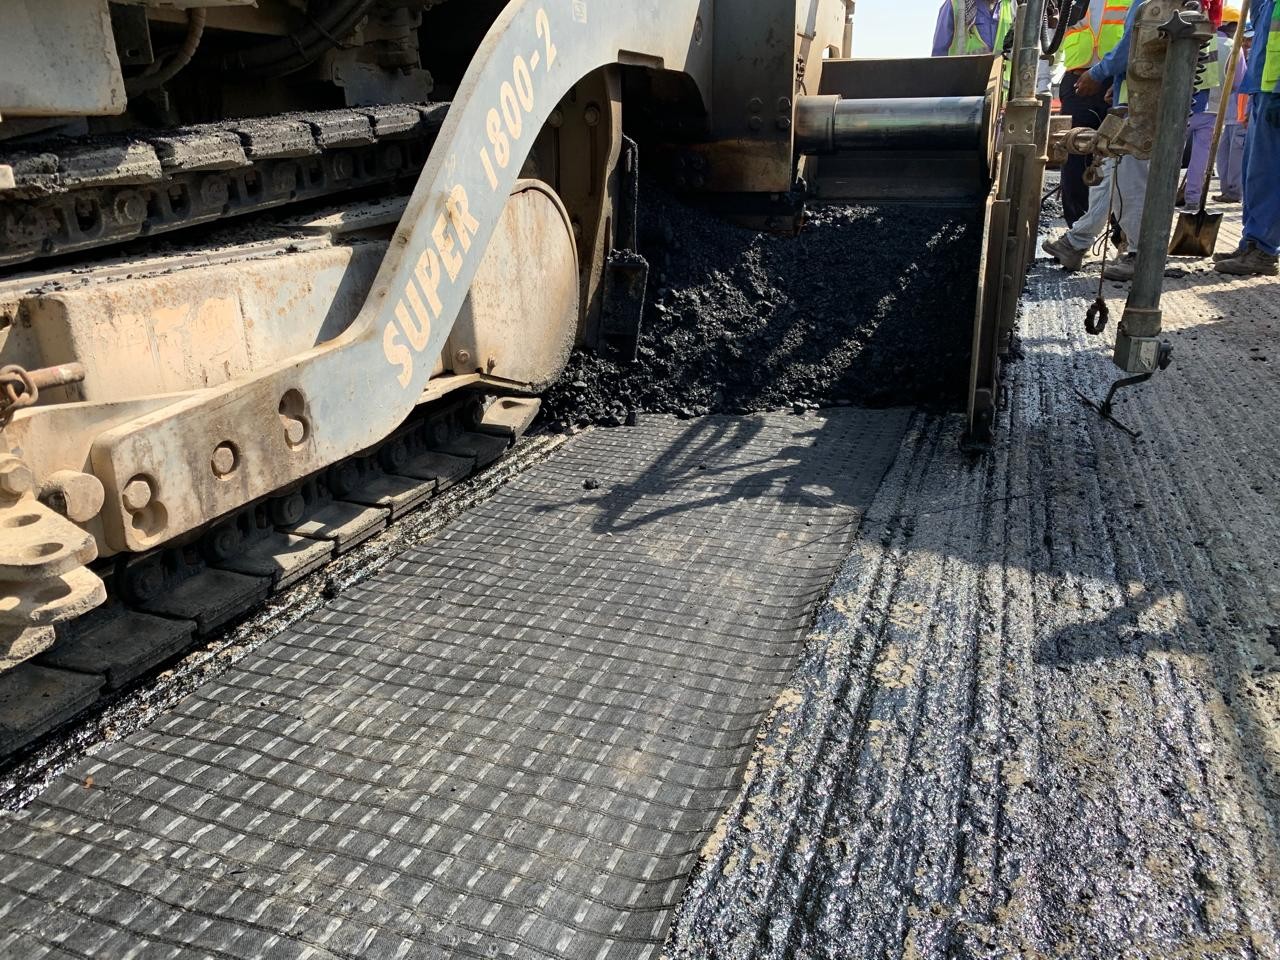
Copyright © Marathon Sealing – www.marathonsealing.com